- Joined
- Apr 1, 2002
- Posts
- 2,188
Hey fellas, I am finally once again a cab owner!
......well sort of, it is going to take some time and effort to get this girl in the condition I need her to be in.
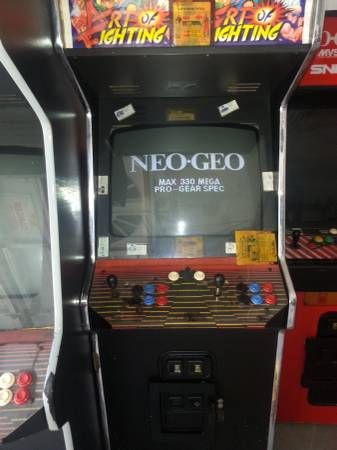
On a work day last week I found a Craigslist ad for a couple of machines with mention of a Neo Geo cab with a NON WORKING monitor, amongst the pics of the generic cabs there was a pic of a Dynamo Cab running Neo-Geo but nestled behind the Dynamo and to the right I caught glimpse of her in her dedicated glory
The asking price was $200 and I could not let it get away! Being stuck at work I hastily called my buddy Ray who has a pickup truck if he could go grab it for me. He happily complied and shot out on the highway immediately to pick her up.
When he got there he called me and told me the cab did not have any severe damage but it had been converted to something else and had some random Jamma board inside. All ready being the owner of a MV1C board that I use with my supergun, I waved it off and told him to go ahead and take it.
When he brought it to my place and I got to inspect it it was a little rough, the poor thing had been sitting in a garage for god knows how long and was covered in spots of mildew (I should have taken pics but I did not want to take it in my house this way)
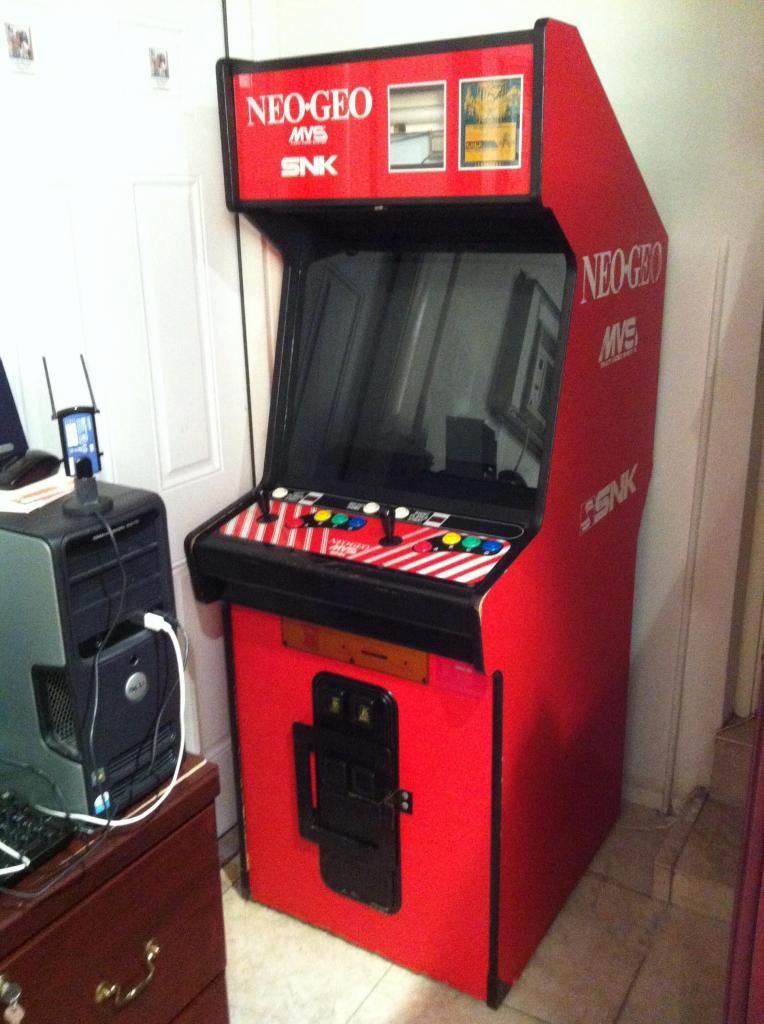
After totally wiping the entire cabinet exterior with disinfectant, and getting her squeaky clean I got to bring the cab inside and get a better look, not too bad:
worried about more filth I started to shop the cab out immediately, I opened the back panel and vacuumed out the dirt and bug parts, took some effort but got it spotless:
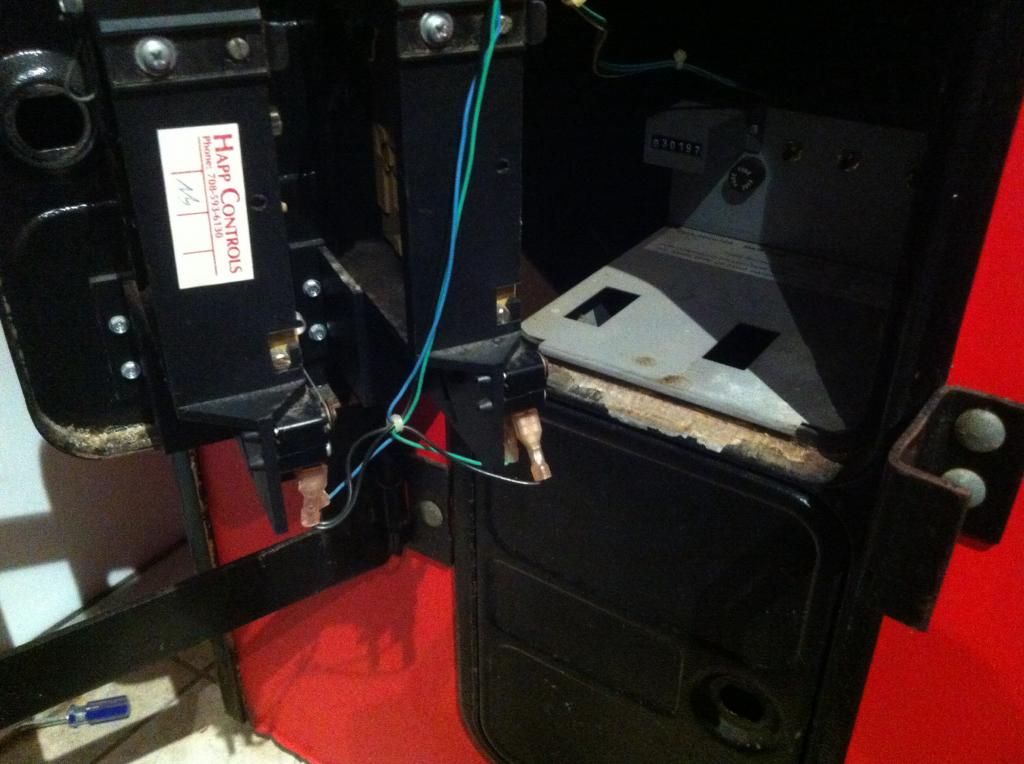
After cleaning out the back totally I moved to the control panel out to clean up the front and was reminded that this cab had a foreign body inside:
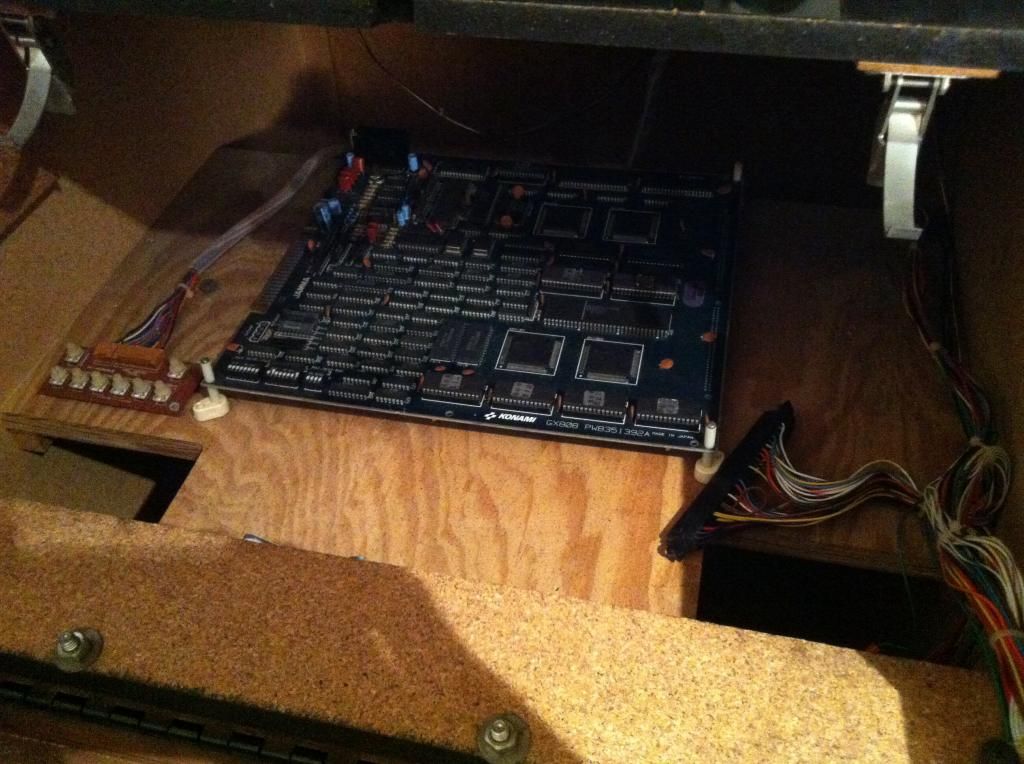
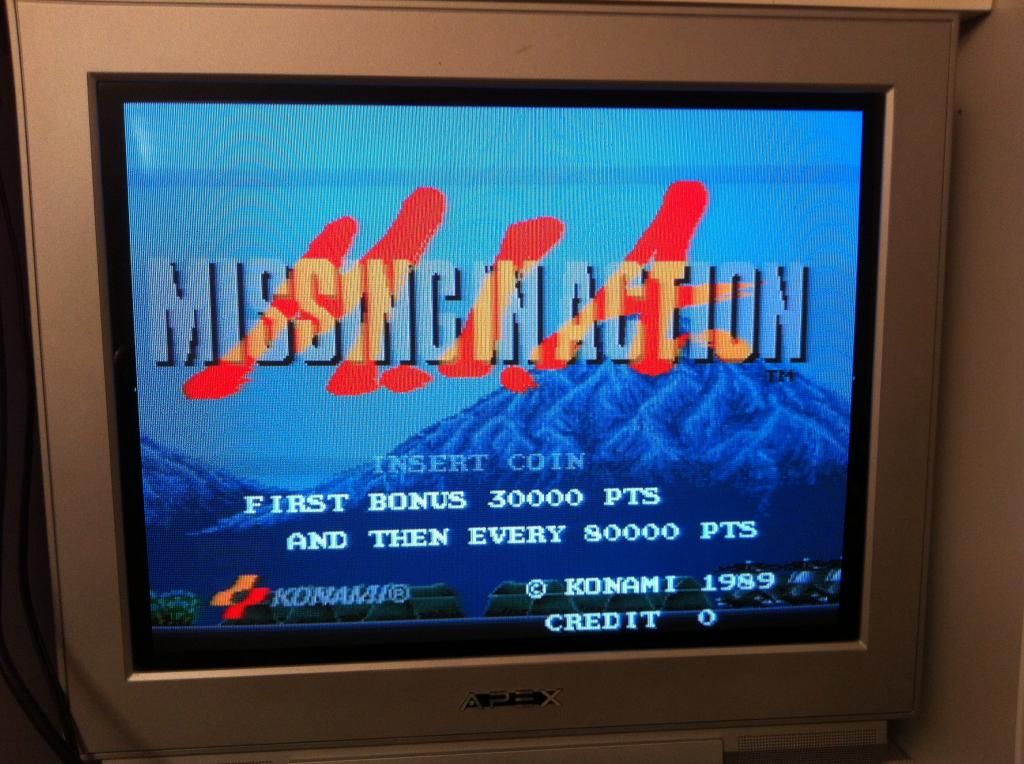
Curiosity got the best of me and I dropped everything I was doing to test this board with my Jamma rig! Upon powering it up I discovered that this was a good buy indeed, the contained board is a rare PCB known as M.I.A. or Missing In Action. The game is a sequel to the Konami Classic Rush'n Attack! (I have since sold the board on Ebay for a final bid of just over $150 making my cost of this cab roughly $50 USD!
Below are some shots of the cosmetic damage that needs to be repaired:
Stereotypical Corner damage! not sure how I am going to approach this repair yet, there is a bit of the particle board missing (just a little) and I do NOT want to use bondo, because the original side are is not that bad, and I would like to keep it original and bondo would melt the vinyl.
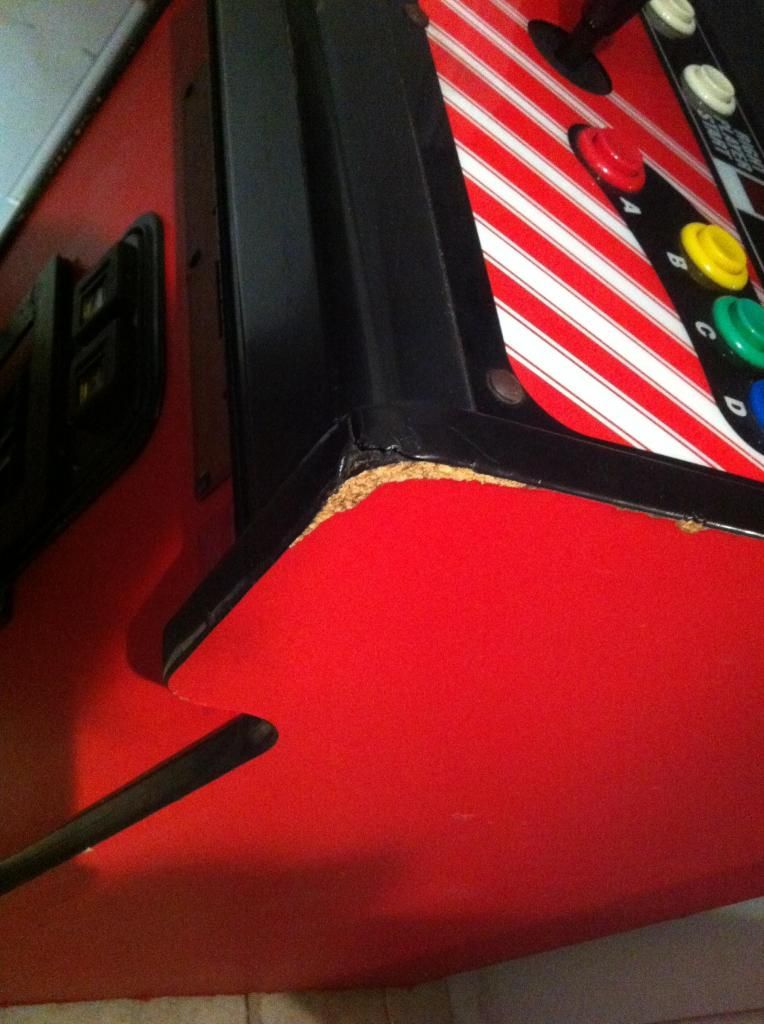
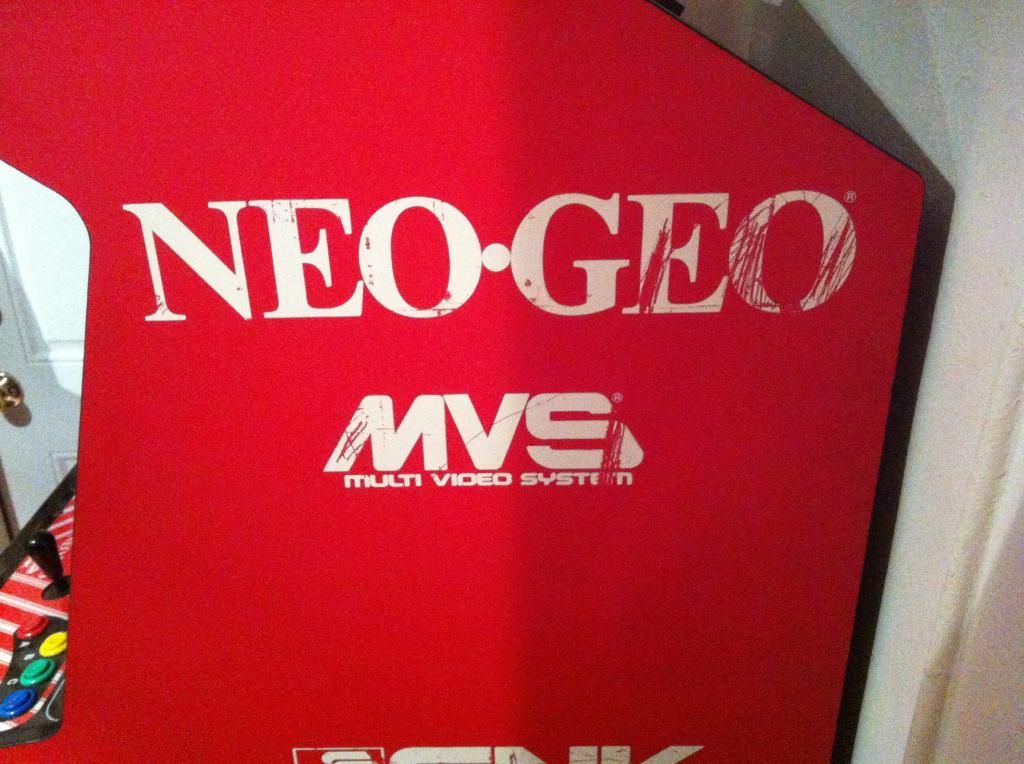
I will touch up the logo work by hand, should not be too difficult.
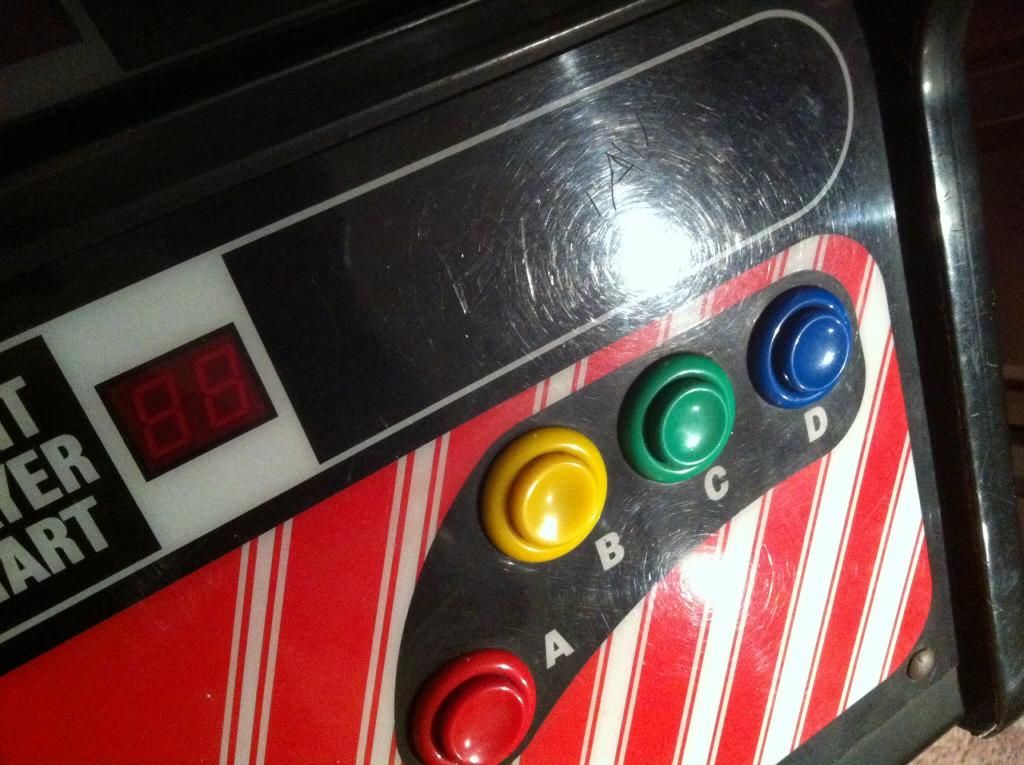
The control panel is really worn, including carved graffiti. It will need to be replaced.
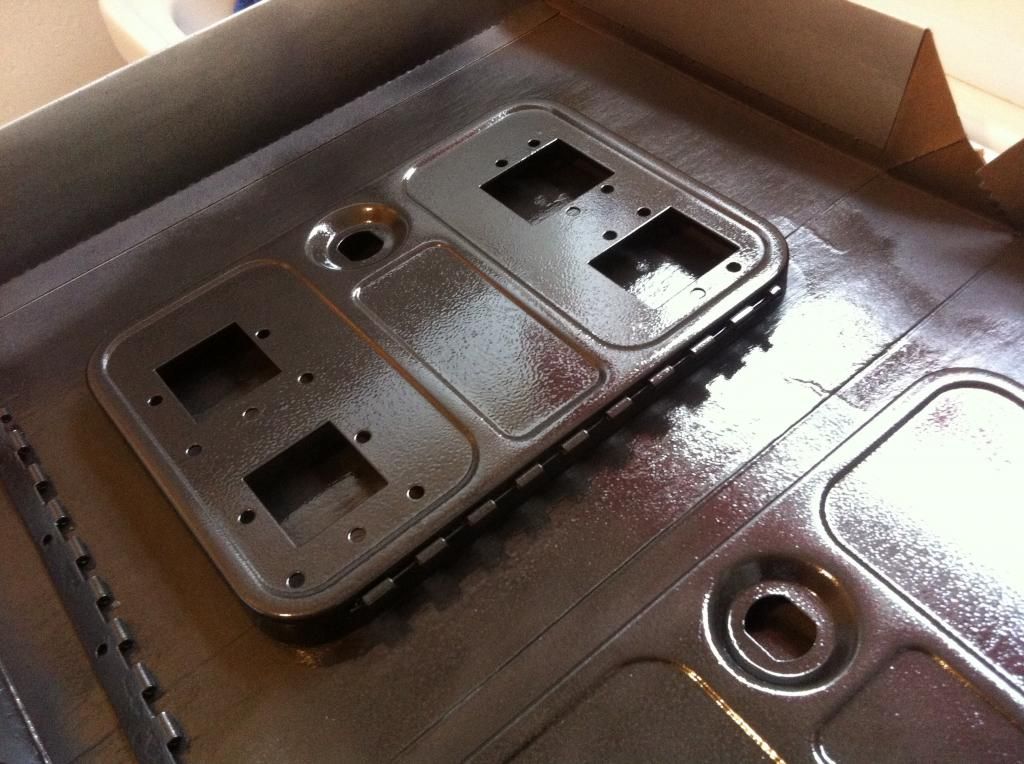
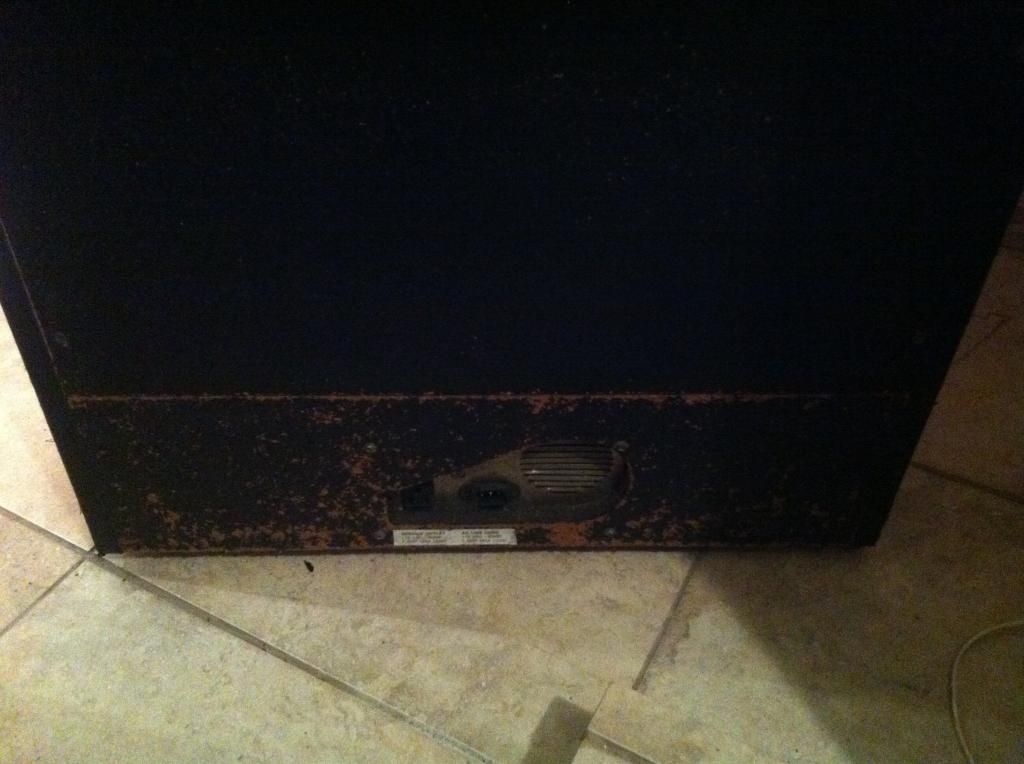
The back is worn and needs a sand down and a fresh coat of black paint:
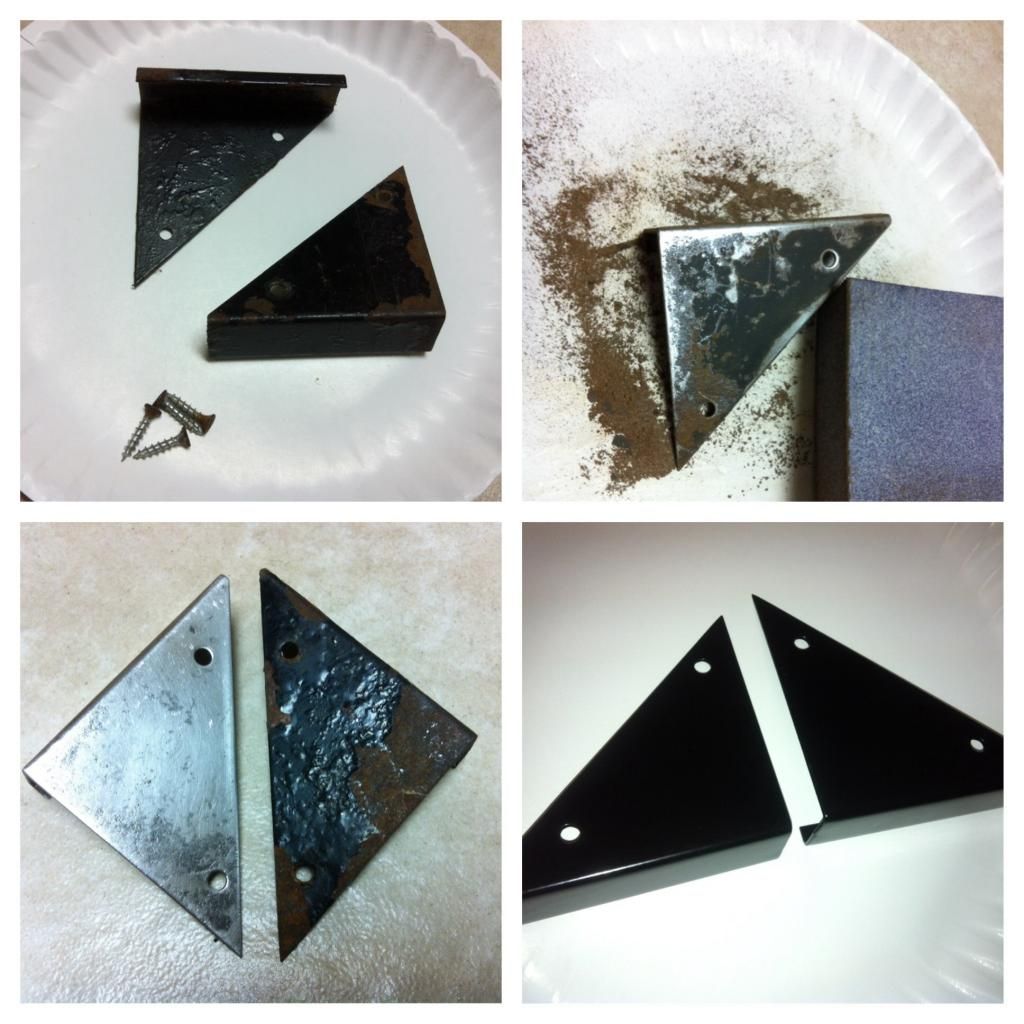
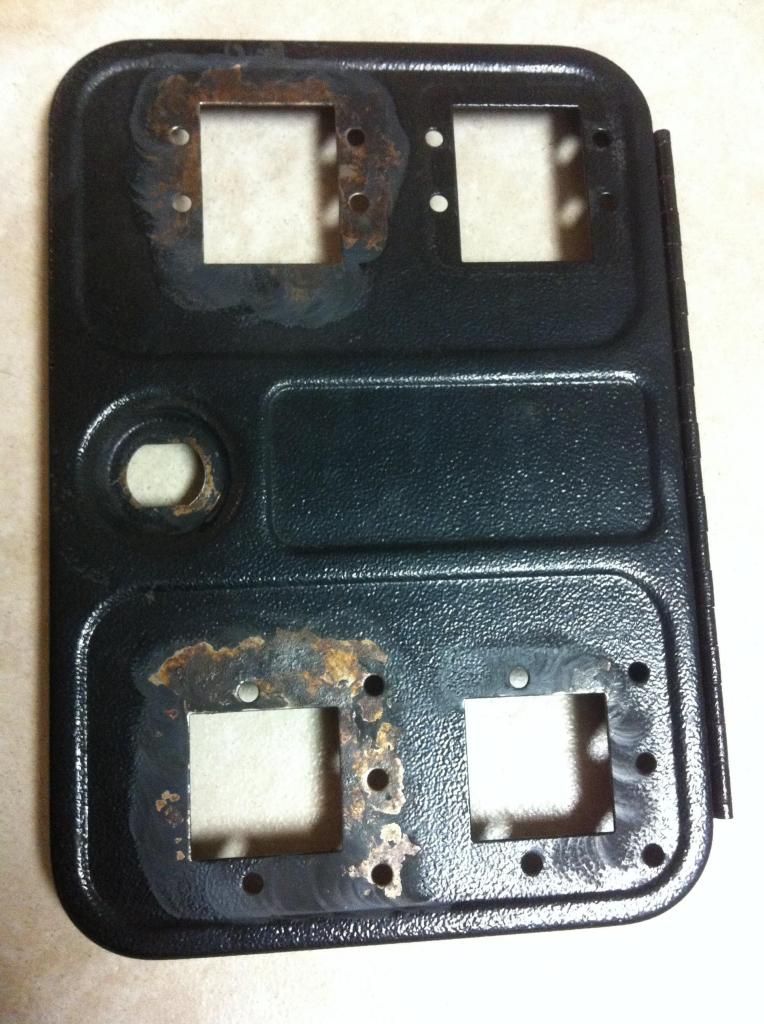
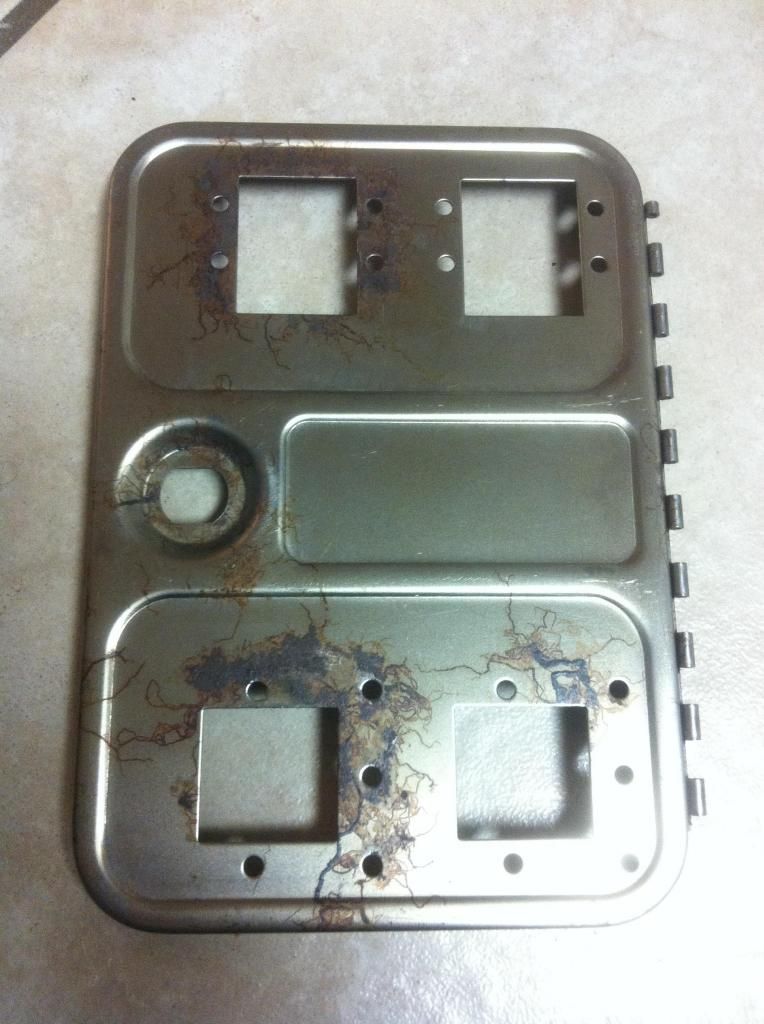
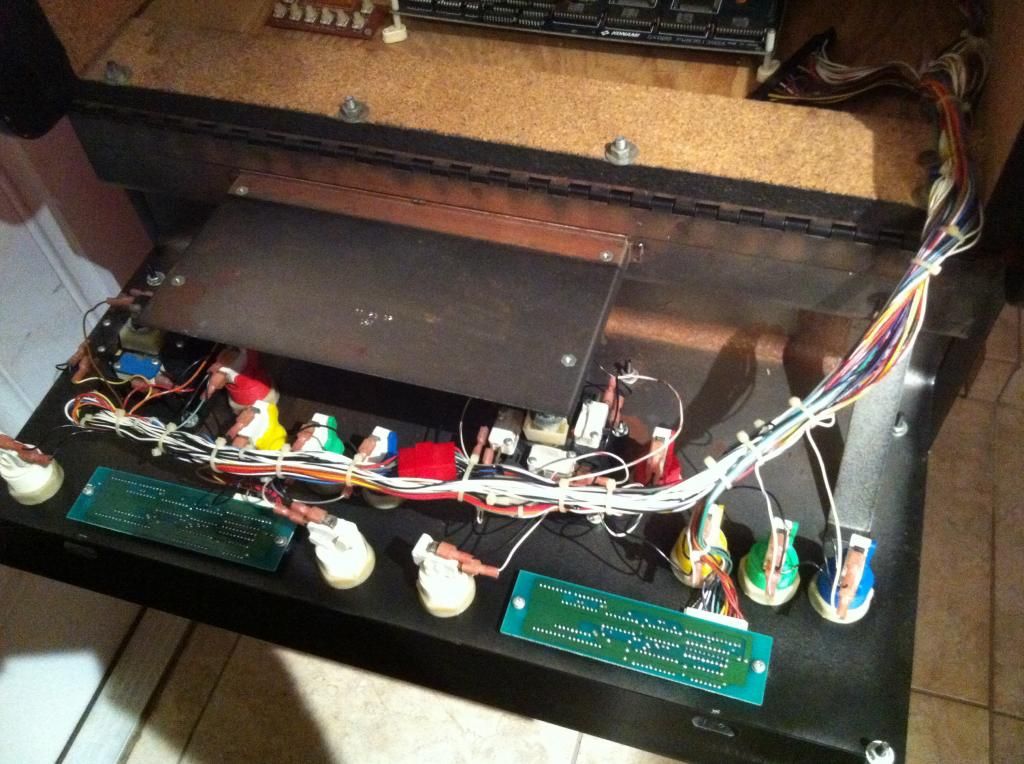
The control panel is rusty and of course I will replace all of the buttons and Joys with brand new parts:
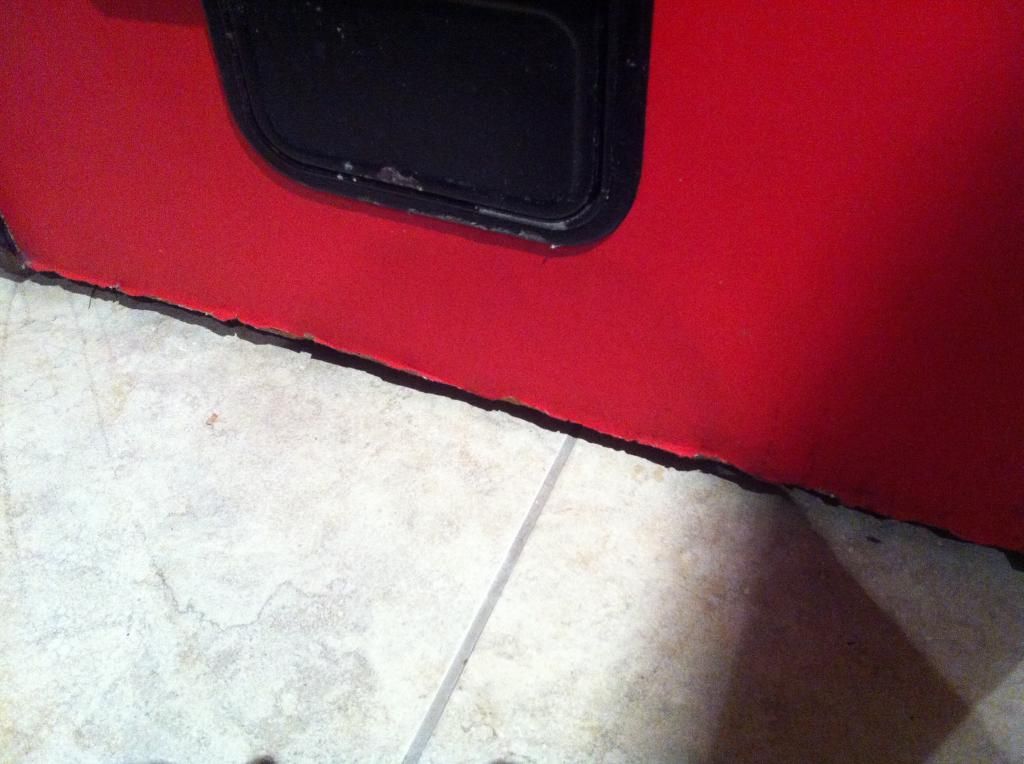
And perhaps the biggest challenge will be to recondition the bottom edges of the vinyl. the bottom edges of the cab on all sides have normal damage, and the vinyl is quite tattered and it will drive me crazy. I am taking lots of angles on fixing this into consideration, including trimming the bad bits off and paint matching the bottom afterwards (sounds crazy I know) but still mulling it over in my head.
As far as internally the monitor is shot, I will try a full cap, and flyback replacement before I take more drastic measures (*COUGH* crt~jrok*COUGH*)
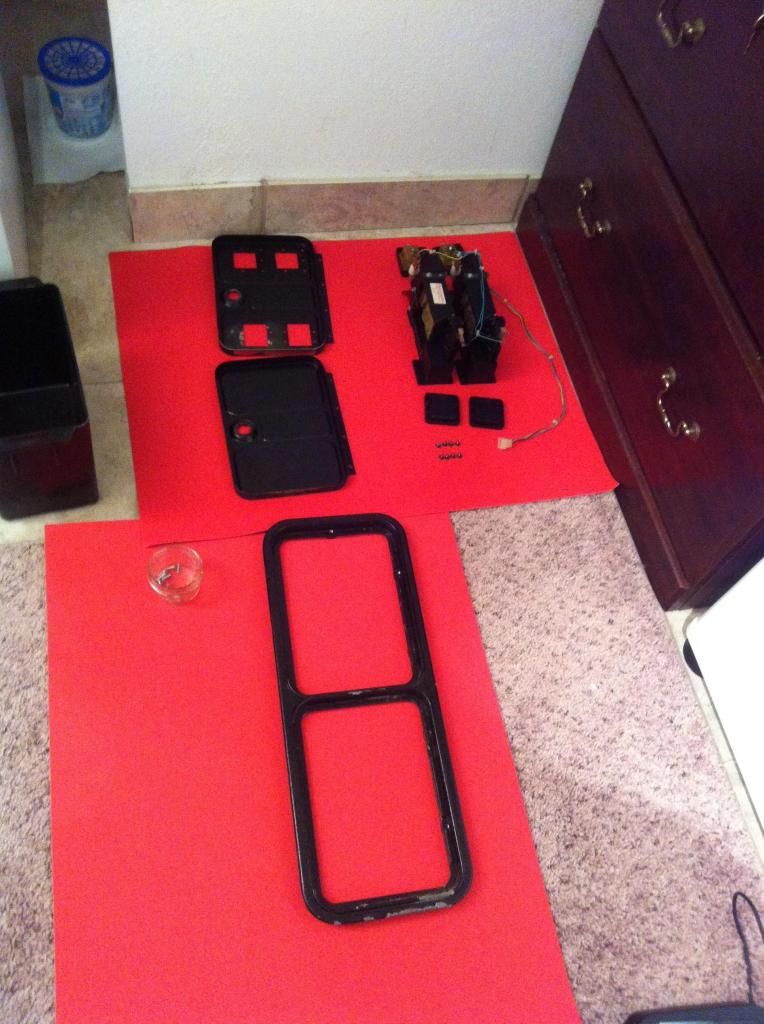
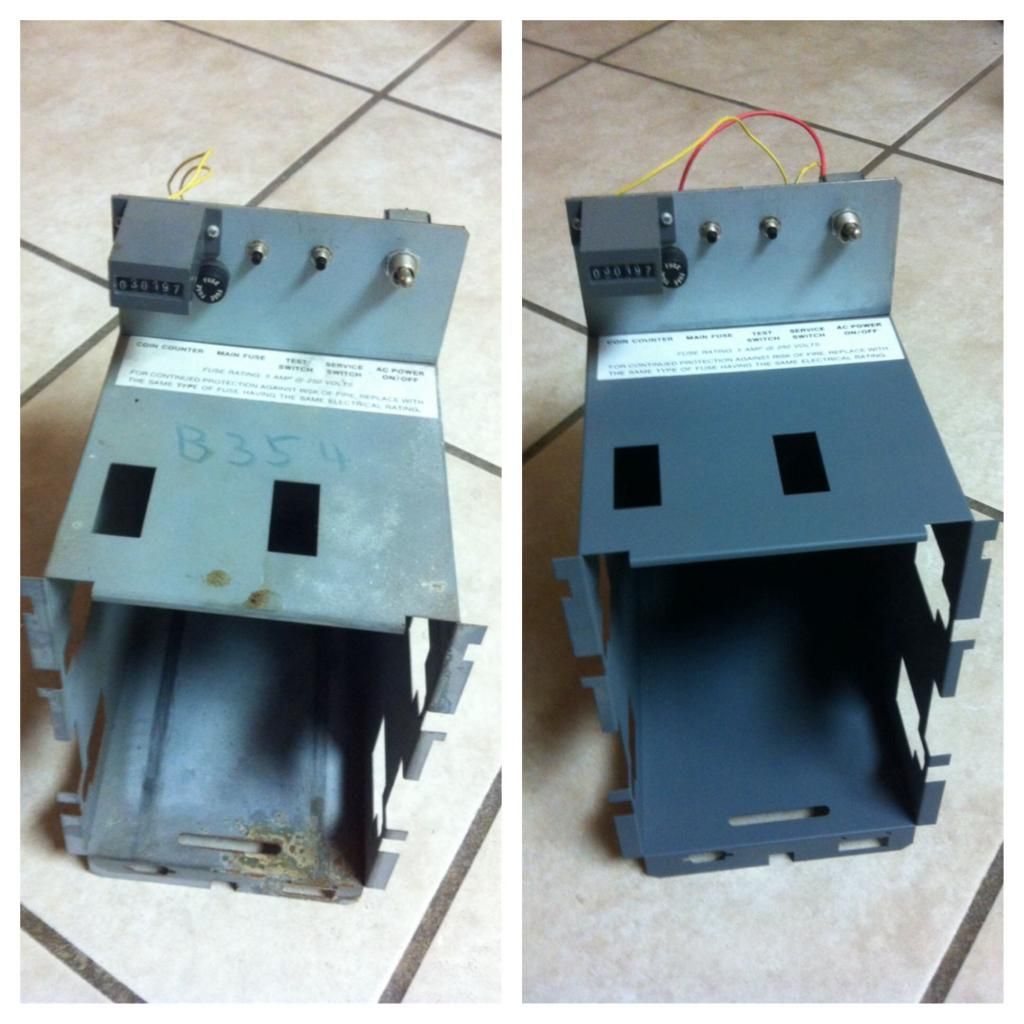
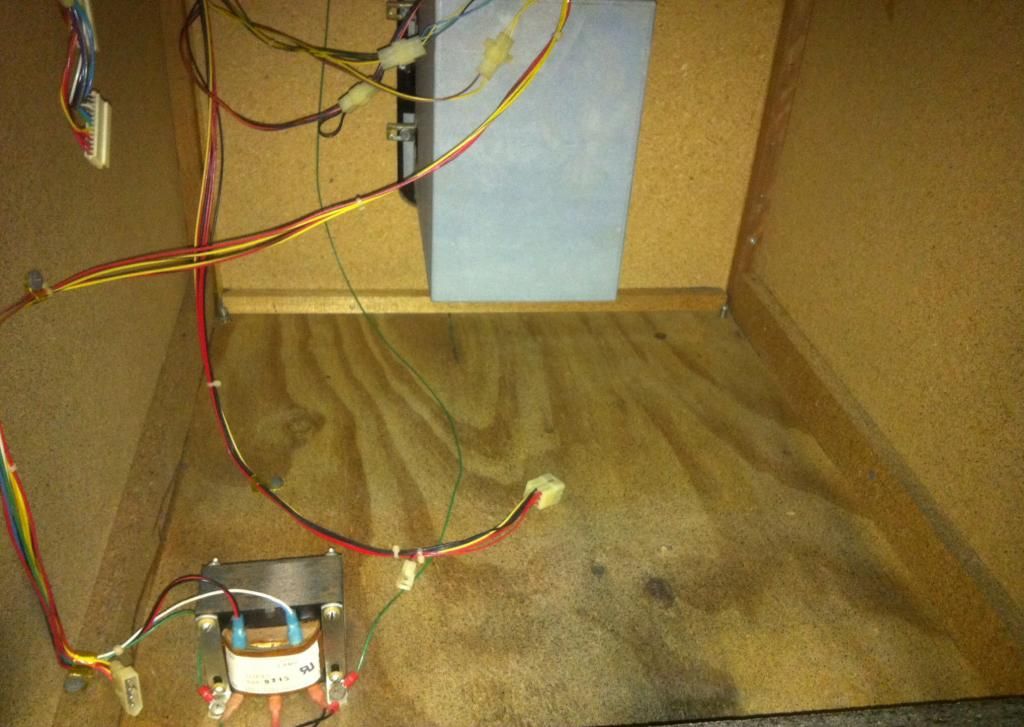
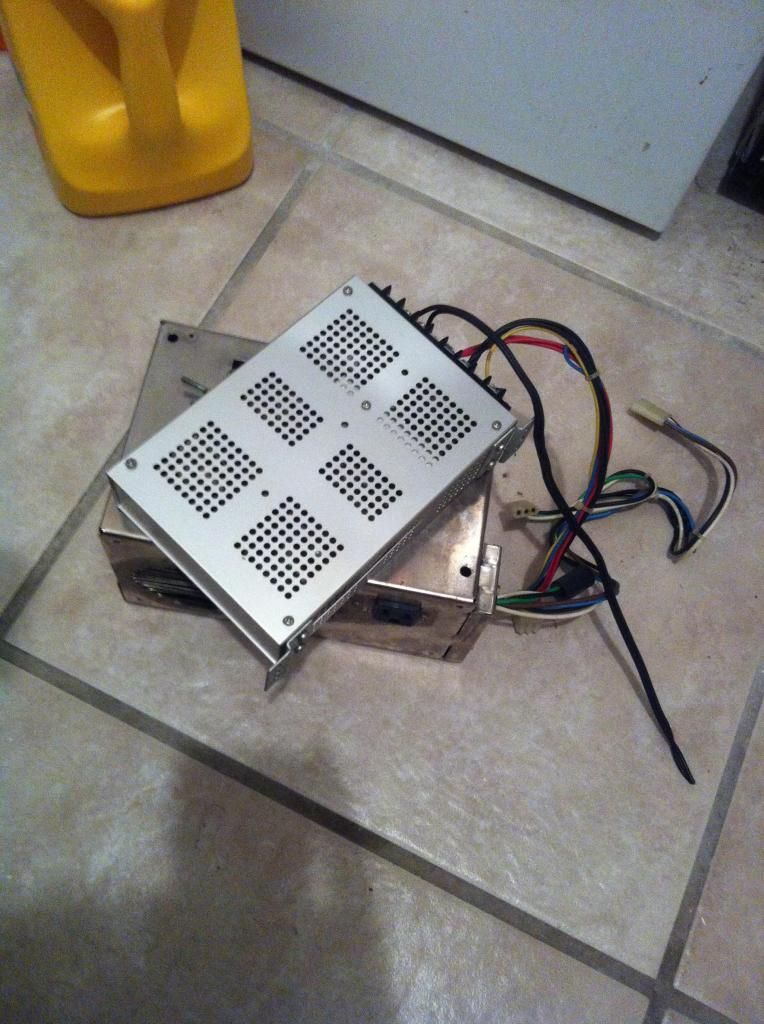
Ans the poor cab had a cheap Chinese PSU piggybacked and frankensteined to the original, I have removed both and Will replace them with the proper part:
This is where I am now, I need to do some shopping, and updates will flow out as soon as I make any more progress.
Thanks for reading
George
End Part 1
......well sort of, it is going to take some time and effort to get this girl in the condition I need her to be in.
On a work day last week I found a Craigslist ad for a couple of machines with mention of a Neo Geo cab with a NON WORKING monitor, amongst the pics of the generic cabs there was a pic of a Dynamo Cab running Neo-Geo but nestled behind the Dynamo and to the right I caught glimpse of her in her dedicated glory
The asking price was $200 and I could not let it get away! Being stuck at work I hastily called my buddy Ray who has a pickup truck if he could go grab it for me. He happily complied and shot out on the highway immediately to pick her up.
When he got there he called me and told me the cab did not have any severe damage but it had been converted to something else and had some random Jamma board inside. All ready being the owner of a MV1C board that I use with my supergun, I waved it off and told him to go ahead and take it.
When he brought it to my place and I got to inspect it it was a little rough, the poor thing had been sitting in a garage for god knows how long and was covered in spots of mildew (I should have taken pics but I did not want to take it in my house this way)
After totally wiping the entire cabinet exterior with disinfectant, and getting her squeaky clean I got to bring the cab inside and get a better look, not too bad:
worried about more filth I started to shop the cab out immediately, I opened the back panel and vacuumed out the dirt and bug parts, took some effort but got it spotless:
After cleaning out the back totally I moved to the control panel out to clean up the front and was reminded that this cab had a foreign body inside:
Curiosity got the best of me and I dropped everything I was doing to test this board with my Jamma rig! Upon powering it up I discovered that this was a good buy indeed, the contained board is a rare PCB known as M.I.A. or Missing In Action. The game is a sequel to the Konami Classic Rush'n Attack! (I have since sold the board on Ebay for a final bid of just over $150 making my cost of this cab roughly $50 USD!
Below are some shots of the cosmetic damage that needs to be repaired:
Stereotypical Corner damage! not sure how I am going to approach this repair yet, there is a bit of the particle board missing (just a little) and I do NOT want to use bondo, because the original side are is not that bad, and I would like to keep it original and bondo would melt the vinyl.
I will touch up the logo work by hand, should not be too difficult.
The control panel is really worn, including carved graffiti. It will need to be replaced.
The back is worn and needs a sand down and a fresh coat of black paint:
The control panel is rusty and of course I will replace all of the buttons and Joys with brand new parts:
And perhaps the biggest challenge will be to recondition the bottom edges of the vinyl. the bottom edges of the cab on all sides have normal damage, and the vinyl is quite tattered and it will drive me crazy. I am taking lots of angles on fixing this into consideration, including trimming the bad bits off and paint matching the bottom afterwards (sounds crazy I know) but still mulling it over in my head.
As far as internally the monitor is shot, I will try a full cap, and flyback replacement before I take more drastic measures (*COUGH* crt~jrok*COUGH*)
Ans the poor cab had a cheap Chinese PSU piggybacked and frankensteined to the original, I have removed both and Will replace them with the proper part:
This is where I am now, I need to do some shopping, and updates will flow out as soon as I make any more progress.
Thanks for reading
George
End Part 1