Building a MVS 4 slot cab (US style) from Scratch. Questions in regards to paint etc

Neogeoman106st

Crossed Swords Squire
Joined
Aug 29, 2017
Posts
191
Hello all,

As the title says i am currently building a MVS 4 slot cab. its not 100% exact as the originals due to a few different reasons. Anyway its coming along pretty well. its my first time doing anything with wood really on this large of a scale. I did do a CMVS a years back. but that's about it. but i have used it as motivation during covid lockdown and also to improve my health(weight loss). So i am about ready to consider a few things. First is if i should go with a Vynl Rap for the cab , CPO & Marquee. i think the CPO and Marquee i have no choice considering budget and shipping(i am in japan).

So i have a few questions to some MVS cab owners.

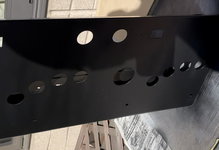
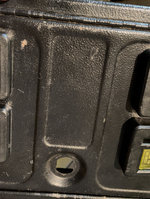
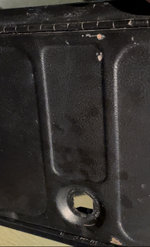
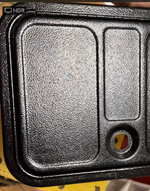
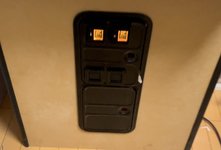
1.the Paint the black pain in the monitor Area and on the back of the cabs . would you say its a glossy or matt black? its been a minute since i have seen one in person haha. wish i could just pop in to a local arcade but sadly its not a option.

2. if you have done any restores on your cab do you recommend doing a full vynl Wrap for the sides and Coin door area or paint and Vynl stickers?
a. Also who did you use to get your prints and were you happy with the service and results?

3 has anyone had to replace the Marquee and what did you use? i was thinking of getting a Vynl print. cutting the 4 windows and then putting it beteen two sheets of plexy. not sure if that would work well or not and how to tackle it yet haha.

4 what did you do for your CPO? i have been lucky to get a good deal on an Original CP (i think from a 2 slot. it has the curved button layout) and i did not see too many places that made on in this type. Also do you need a Plexy cover or do you think just Vynl works well? Also paint on the CPO. glossy or matt?


if anyone is interested i will post some pictures later on.

Also i know what some people might be thinking . wait your in Japan why not just get a Neo 19 etc. i did think about that but since i am from the US. i have a soft spot in my heart for the stand up big reds. Also i wanted to have a good long term project.

Thanks for taking the time to read this.
 

Hawwa

B. Jenet's Firstmate
Joined
Sep 21, 2018
Posts
408
Yes, pics please. I can't help you with your answers but I built myself a bartop (with lcd, not big enough game room for a crt one) so if you have any building doubt maybe I could help.
 

Neogeoman106st

Crossed Swords Squire
Joined
Aug 29, 2017
Posts
191
Ok so here are a few pics of the build.

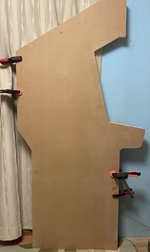
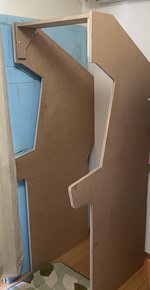
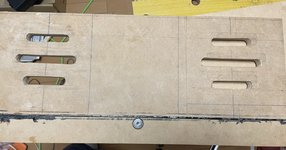
from when I first started cut the sides and sanded them down to match. For some odd reason I could only find MDF cut in 1825mmx915mm. So I had to make some changes to the shapes and try to get it close to the original look but it would not be the same.
5D63B350-54F4-4D9D-A16C-C92D3515A219.jpeg
03DE2AAB-A956-454E-B11F-395BE37C6322.jpeg
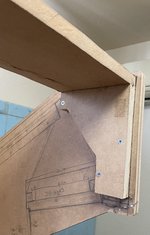
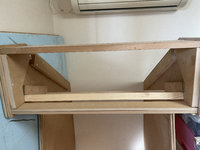
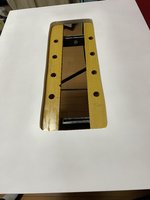
below i worked on the marquee area but again it’s not exactly standard size due a miscalculation on my part and not really having much interns of measurement s to go by. But I think it turned out good all thing considered.

00312F02-FA3D-4C6D-9CBF-AF80BF355EF9.jpeg
7A93A8F2-6231-453D-84CA-0558958167BF.jpeg
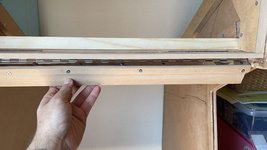
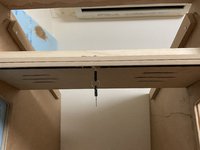
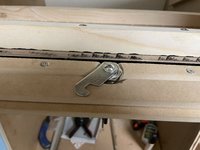
theb I added a hinge and key.
1C81D3C0-56A5-438E-9BCB-4F416019E78E.jpeg
I know on the original it’s one pice of metal but best I could due was make it out of MDF.
77A3A8BE-90FA-4CF4-83F1-D123EAAAE3C0.jpeg
D577C633-BD3C-440A-A584-8DB743B32931.jpeg

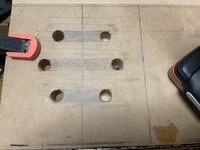
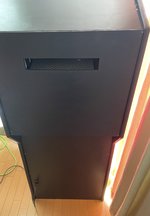
then when I was happy with that I did the speaker holes. Tried to stick to the original cab for the design.
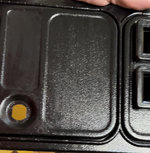
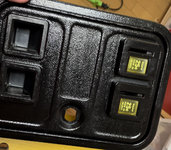
1E98138C-F326-4920-ABCC-AF7D56499A80.jpeg
inthink it came out ok in the end but was a lot of work.
6D1B861F-2DF8-42B1-B464-72A6F025A1A9.jpeg
 
Last edited:

Neogeoman106st

Crossed Swords Squire
Joined
Aug 29, 2017
Posts
191
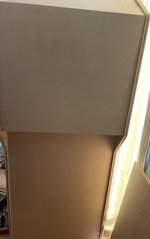
Then I moved on to the back and top panels.
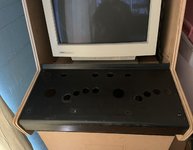
BAA7ABA1-4BDA-4EC9-B01B-B81CEBA5832B.jpegthen the coin door and found a cheap 21 in CRT monitor that does vga and BNC so I started to make the monitor area.

the crt has low hours according to the guy who sold it to me and it works great.
then I was a able to get my hands on a control panel and coin counters an harness.
it was a great deal.
7BFF84D9-D780-4531-98C4-94FC55B07A7C.jpeg
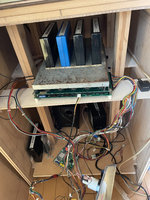
worked on mounts for the cp and also the shelf for the 4 slot mvs. I also was worried about the monitors weight(70lbs)
So I added some support.
3434B877-E60C-46D9-AA5C-93F3F0BD2764.jpeg
AF33DFEF-32E3-4B0F-A915-C913A6DAFCD9.jpeg
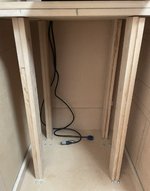
Test set up to see how things fit. Will do cable management ice I am done painting etc.
 
Last edited:

Neogeoman106st

Crossed Swords Squire
Joined
Aug 29, 2017
Posts
191
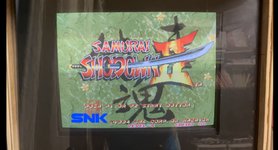
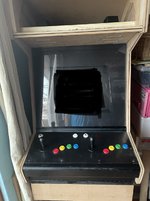
And last where I am today. Still need to work out the cp area a bit more then paint and marquee. Waiting on a LED marquee kit that’s in the mail :)
27FF3A55-7B06-457F-B3DF-FA377533E00A.jpeg
Also I painted the CRT black to blend in more
29EBB09E-9A0F-4F83-B85A-105CE05E256B.jpeg
072E6A84-8FE3-4F54-ACEB-2E510377DDEE.jpeg
 

Neogeoman106st

Crossed Swords Squire
Joined
Aug 29, 2017
Posts
191
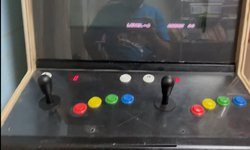
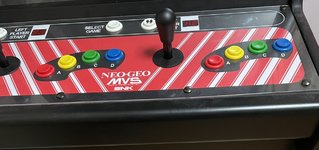
Got the control panel mounted today properly. Will of course remove it while painting etc but it fits good and functions great as well. FEB296D1-F434-43C6-965E-3A1AA450C41D.jpeg
so easy access to change games and volume of the cab .
 

Hawwa

B. Jenet's Firstmate
Joined
Sep 21, 2018
Posts
408
Thanks for the pics.

That's a NANAO pc monitor? Didn't know they even existed...
 

Neogeoman106st

Crossed Swords Squire
Joined
Aug 29, 2017
Posts
191
Yes they had a few Ver in Japan . its a NANAO FlexScan 77F From 1996. I had no idea they did as well until i saw it pop up on yahoo japan and had to buy it :}. the guy i got it from was a graphics designer back then. but he said he used it for about 100 hours maybe less and then it was put to the side in his office for years unused and only moved around a bit. he had moved on to something else shortly after buying the monitor.
 
Last edited:

Neogeoman106st

Crossed Swords Squire
Joined
Aug 29, 2017
Posts
191
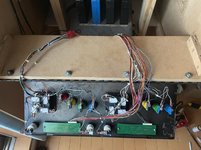
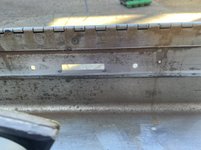
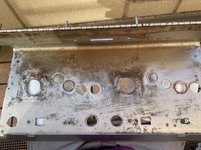
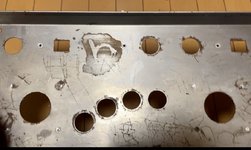
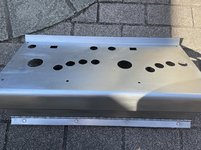
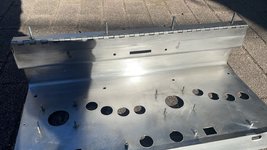
Still not 100% done but getting close. For paint I went with satin black. I also striped the control panel because I and a feeling it had a ton of rust and wow I was not expecting so much

AF26017A-3128-42C1-9915-8170F66FC8FD.jpeg
77C994C4-C43C-49E4-9286-1C278D47C6AC.jpeg
All hidden under the paint. Also lots of choice wordS scratched in deep to the metal.
7C98BCCB-B60E-4E75-9C9B-7FEEF847C07D.jpeg
makes me think the original mvs was in service at a dive bar or halfway house.
It’s in a better place now.
After a lot of sanding,
8AC13EB8-73A4-4565-97FD-016BB6E00666.jpeg
49512B53-C49E-4843-9542-C7E48E64B441.jpeg
It Looks brand new.
Then I primed and painted
22980A19-AF4C-4DE2-8AE7-24E11C639E09.jpeg
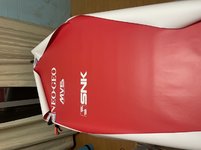
my side art came in and cpo etc so I got to work on that. Laying the cab down and libeling it up was very nerve racking.
AE40DF8F-DCB4-4DB0-9857-DE72357E720E.jpeg
also had to cut the marquee by hand not fun but I think it came out ok. Also got led kit for a 4-slot so fully functioning marquee.
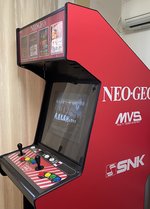
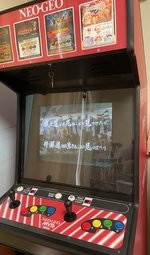
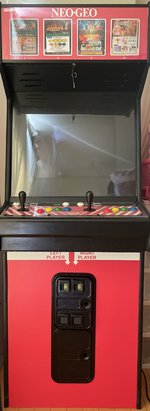
here is the final results so far.
A lot of blood sweat and some tears alter.
87AE233A-5C90-4AA7-9756-66B7A2BDE9BD.jpeg
37B83C43-F915-4078-A127-10B799F4DB4C.jpeg
Its not perfect but it’s mine so I am very happy so far. I just need to get a coin door. They not cheap and hard to find a good one that will ship to Japan. Will update again.
 
Last edited:

Neogeoman106st

Crossed Swords Squire
Joined
Aug 29, 2017
Posts
191
Thanks if you ever get the space its not easy but it’s totally worth doing. I am really enjoying it.
 

Neogeoman106st

Crossed Swords Squire
Joined
Aug 29, 2017
Posts
191
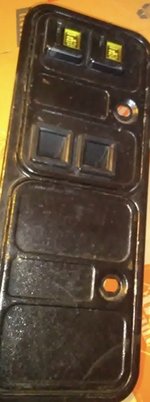
Update on the build. So I found a good priced used happ over under coin door. Imported it from the us so the shipping cost was a lot more than the door. But oh well it’s worth it.
This is what I picked up.
DAE83AF3-A7AC-404E-BD87-D45C67C32B60.jpeg
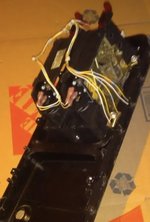
Back:
5BF54023-1641-4BAB-9DD7-7F7C83E169BD.jpeg

from the pictures it’s got everything I need to get started and does not look in bad shape. Plus it’s the older style happ door so it’s what I recall seeing back in the day. So I picked it up.
 

Neogeoman106st

Crossed Swords Squire
Joined
Aug 29, 2017
Posts
191
While waiting for the door to arrive I finished up a lot of the remaining things I needed to do and started to prep for the door as well.
I decided to cut a new pice of plexus for the cpo and got bolts for the cpo.
CC982E08-8227-49E1-B2F3-B56215243860.jpeg

Then after this was done I worked on finishing the final price to the back.

1638092371242.jpeg
Then after this i moved on to the kick panel/ coin door area.
I was not sure if the door was exactly in the middle but I looked online and figured it must have been so that’s what I did.

The door finally arrived. Pretty much how I expected it to look. It had a few spots with rust were paint had chipped off and some small damage like it was prayed open a bit.
1638093756305.jpeg


1638093880584.jpeg
1638093917660.jpeg
1638093991612.jpeg
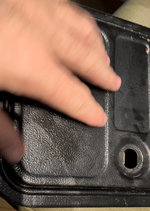
And some spots around the frame. It is used and old so not too bad. So this time I did not strip it. I just spot treated it and sanded away left over rust. I was afraid I would not be able to repeat the hammered/ textured look of the original paint on it.
So I used a touch up black paint pen to do the whole door. So I got to cleaning and I think it came out frat and you can’t really see the spots were the paint chipped etc.
1638095019792.jpeg
1638095109640.jpeg
1638095186941.jpeg

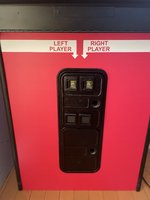
Now that I had the door I could use it to help cut the hole. After a lot of drilling and sanding. I test fitted it and I think it came out well.
 

Neogeoman106st

Crossed Swords Squire
Joined
Aug 29, 2017
Posts
191
Continued


1638095418570.jpeg
So Then I started to seal the MDF and primed it for the artwork.

1638095468894.jpeg
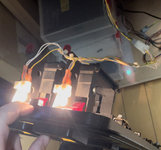
Test fitted it again to test the coin mech and also I need to fit a new connector to the harness and get some bulbs for the lights.
So I went to the local car parts store and got everything I needed. (161 12v bulbs) I might get leds at some point .
1638096019492.jpeg
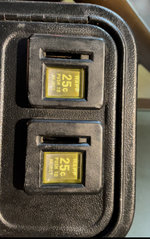
Everything tested good and I also adjusted the coin mech to take 100yen coins and quarters.
It was finally time to put on the finishing touch. It’s not perfect but it looks great to me.
1638095936296.jpeg
1638096448004.jpeg
I still need locks for the doors and a 2nd coin mech. Also I want to add a space for a coin counter test switch and service switch.
Down the line I might also add a memory card reader and head phone jacks board. Since I have the spot for it in the cpo. Still not sure on that.

Anyway it’s been a fun and great journey. Now it’s time to enjoy some Neo geo.

Thanks for reading :)
 

Attachments

  • 1638095970478.jpeg
    1638095970478.jpeg
    84.7 KB · Views: 2
Top