So I got in on the NeoVGA board and finally got my MV1C console build up and running. For those of you that remember I built a stick a while ago for my AES, which now works great for this...and also has held up outstandingly well.
Here's the thread
I was going to go the Jrok or Neobitz route forever ago but once it became impossible to get either of those I patiently waited for Mike's NeoVGA board to be released...ok so I harassed him with PM's and whatnot until it came out.
Anyways, here's my build that i'll be updating as I make more progress. I'm sure i'll be fixing formatting and link/image problems too...it's 3am and i'm tired but wanted to post this.
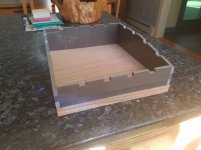
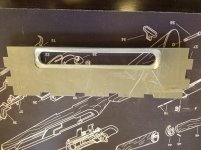
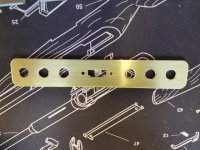
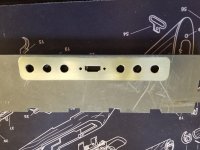
I'll be adding component ports, a switch for using those, a switch to send audio to either RCA jacks, or the HDMI converter, and power/reset switches of course. As well as a proper housing i'll be making very similar to my controller design as well. I'll use the HDMI extension cable to have a surface mounted port on the back of my console housing.
Parts used:
Ebay MV1C
NeoVGA Board
VGA to HDMI converter
HDMI extension
Barrel port for Power supply
Power Supply
Male DB15 port (at local store)
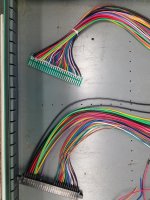
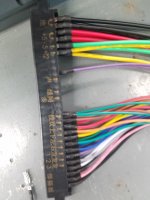
Got the same thing as this Jamma extension cable on ebay for under $10 shipped
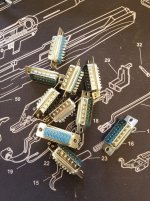
10 Pack DB15 2 row controller ports
Some solder, spare 3.5mm aux cable I cut for the sound to the HDMI converter, random VGA cable I cut up before I made a cable with the radioshack port and wiring from the old VGA cable
So I started with an ebay purchased MV1C that has a bootleg UniBios installed. This works for now but i'll be using the NeoBiosMasta to install a proper UniBios soon.
MV1C with NeoVGA installed
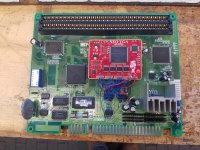
Prepping Stereo sound Mod
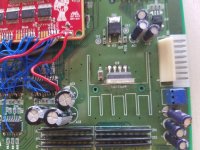
Figured out power and ground for the power port
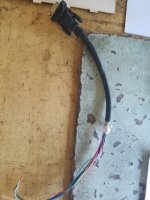
Hacked up an old VGA cable to solder to the NeoVGA board
After soldering VGA cable, hooking up the the HDMI Converter which is temporarily hardwired for power
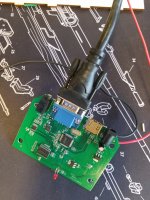
Test! It works! Not pretty, I just wanted to make sure the sound was correct and everything was wired right. The power supply from Jameco was enough to power both the MV1C and the HDMI converter
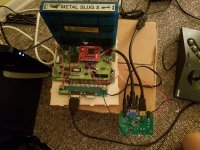
Boot and success!
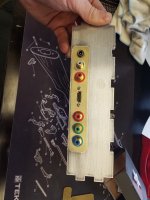
Close up of the breakout board I purchased from a Reddit user in the NeoGeo subreddit. Going to switch to wired ports in my enclosure but this works great for now.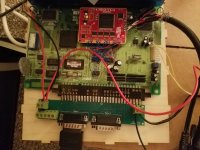
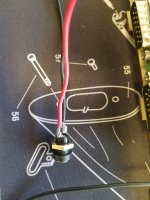
Current state, drilled a hole in the plastic shroud to mount the power port, hot glued the HDMI converter to the top. Ended up having to make a VGA cable for the sake of cleaning up wiring and having it be more flexible.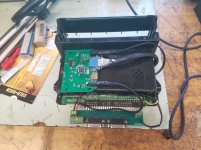
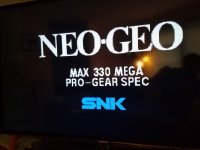
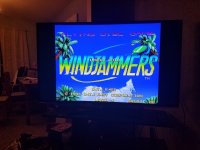
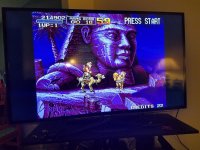
Of course I had to test both Metal Slug X and Windjammers...works great on a 60" Samsung TV as well as anything else i've tried it on. It almost looks too sharp...can someone tell me if Metal Slug X looks ok based on my picture?
Here's the thread
I was going to go the Jrok or Neobitz route forever ago but once it became impossible to get either of those I patiently waited for Mike's NeoVGA board to be released...ok so I harassed him with PM's and whatnot until it came out.
Anyways, here's my build that i'll be updating as I make more progress. I'm sure i'll be fixing formatting and link/image problems too...it's 3am and i'm tired but wanted to post this.
I'll be adding component ports, a switch for using those, a switch to send audio to either RCA jacks, or the HDMI converter, and power/reset switches of course. As well as a proper housing i'll be making very similar to my controller design as well. I'll use the HDMI extension cable to have a surface mounted port on the back of my console housing.
Parts used:
Ebay MV1C
NeoVGA Board
VGA to HDMI converter
HDMI extension
Barrel port for Power supply
Power Supply
Male DB15 port (at local store)
Got the same thing as this Jamma extension cable on ebay for under $10 shipped
10 Pack DB15 2 row controller ports
Some solder, spare 3.5mm aux cable I cut for the sound to the HDMI converter, random VGA cable I cut up before I made a cable with the radioshack port and wiring from the old VGA cable
So I started with an ebay purchased MV1C that has a bootleg UniBios installed. This works for now but i'll be using the NeoBiosMasta to install a proper UniBios soon.
MV1C with NeoVGA installed

Prepping Stereo sound Mod

Figured out power and ground for the power port

Hacked up an old VGA cable to solder to the NeoVGA board

After soldering VGA cable, hooking up the the HDMI Converter which is temporarily hardwired for power

Test! It works! Not pretty, I just wanted to make sure the sound was correct and everything was wired right. The power supply from Jameco was enough to power both the MV1C and the HDMI converter

Boot and success!

Close up of the breakout board I purchased from a Reddit user in the NeoGeo subreddit. Going to switch to wired ports in my enclosure but this works great for now.

Current state, drilled a hole in the plastic shroud to mount the power port, hot glued the HDMI converter to the top. Ended up having to make a VGA cable for the sake of cleaning up wiring and having it be more flexible.

Of course I had to test both Metal Slug X and Windjammers...works great on a 60" Samsung TV as well as anything else i've tried it on. It almost looks too sharp...can someone tell me if Metal Slug X looks ok based on my picture?


Last edited:

